DOS AND DON'TS
A Registration guide
In this page you will find helpful tips how to submit a high quality document photo, film a document video and what are the registration session time limits.
Guide 1
Taking a document photo
Best practices how to capture your identity document to get successfully registered.
Scroll to this sectionGuide 2
Filming a document
Why we ask to film the document and how to film it to get successfully registered.
Scroll to this sectionGuide 3
Understanding registration phases
How long the registration takes and what steps to follow during the process.
Scroll to this sectionGuide 1 of 3
Taking your document photo
During the registration process we will require you to submit your identity document photo. This photo is a part of the evidence package, which proves your e-signature is a qualified electronic signature (QES).
Therefore, it is important to ensure the document photo in a high quality where all its details can be easily read.
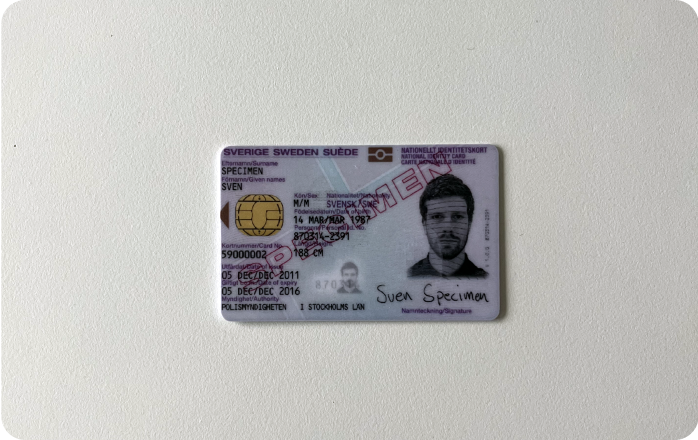
Lighting
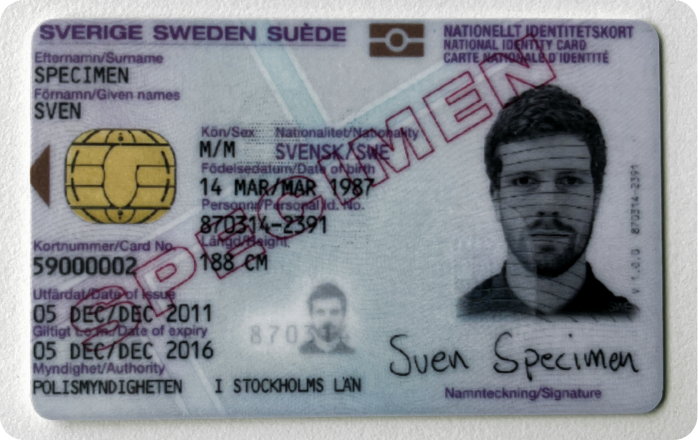
DO
Ensure there are no reflective glares on the document. Position it where natural or ambient light illuminates evenly, like placing it on a desk near a window.

DON'T
Do not capture images with glares or reflections as they obscure text and details.
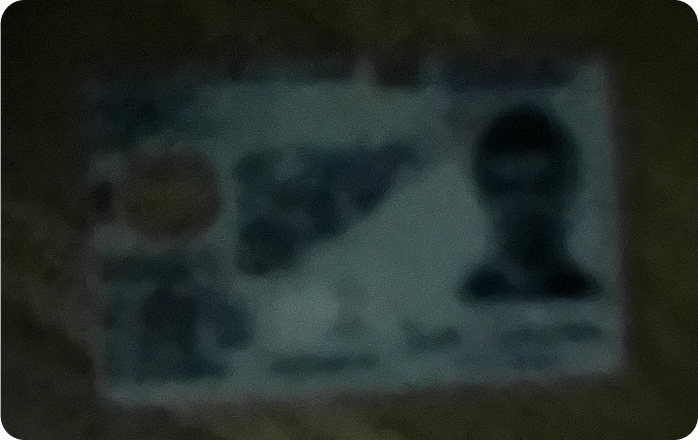
DON'T
Avoid low-light conditions that can result in grainy or unclear photos.
Tip
If using a strong artificial light, hold the document vertically with your fingers to minimize shadows and ensure clarity.

Details
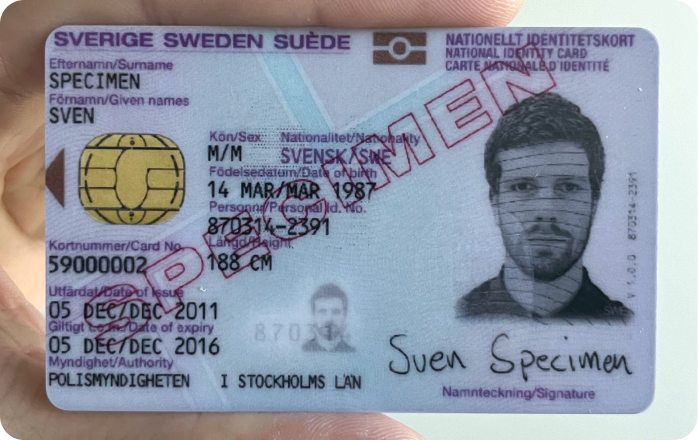
DO
Ensure all document details are visible and legible in the photo. Make sure nothing obscures the text or important information.
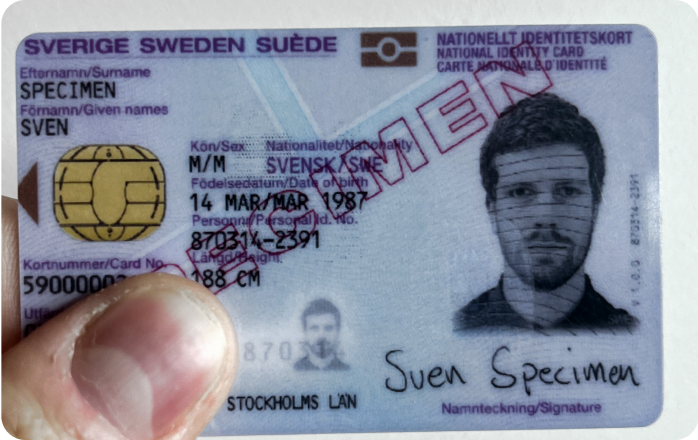
DON'T
Cover any part of the document with your fingers or other objects.

DON'T
Do not tilt the document; keep it squarely facing the camera for clarity.
Framing
DO
Make certain all corners of the document are visible in the frame. This ensures completeness and prevents any vital information from being cut off.
DON'T
Do not zoom out too far, as it can make it harder to identify document details.

DON'T
Do not zoom in too closely on the document, as this can result in cropped corners, potentially losing valuable context or data.
Sharpness
DO
Ensure the photo is sharp and clear, with all text and details crisply captured. This enhances readability and prevents any ambiguity in the document's content.
DON'T
Do not submit blurry or out-of-focus images, as they can be difficult to read and may lead to the registration case rejection.
How the filming process works
Depending on whether you are filming a card or a passport, we may ask you to capture a single side or both sides of your document. For each side, it's essential to follow the same pattern consistently.
Why we ask you to film it
We require assurance that your document is genuine by verifying its security features. Filming the document provides us with the opportunity to conduct this verification remotely, eliminating the need for an in-person meeting.
Following the pattern
DO
Move the phone to trace an imaginary pattern over your document. In the provided example, the individual follows the pattern of the letter "M".
DON'T
Do not remain stationary or obscure the document. Ensure the filmed video clearly demonstrates the required movement pattern.
DON'T
Do not film a blurry video. Position your camera at the optimal distance to maintain clear focus on the document.
Security details
When you move your phone's camera under appropriate lighting conditions, we can identify the genuine security features present in the document.

DO
Keep the phone’s flashlight turned on to ensure visibility of the security details.

DON'T
Do not disable the flashlight or rely solely on ambient light, which may obscure the security details.
Phase 1
Submit registration details
The session begins when a user clicks "Let's start" and agrees to the registration terms and conditions. During this phase, users are required to submit contact information, selfie, document photos, and a document video.
Session time limit
2 hours.
Users have 2 hours to submit their details, if failed the process will restart from the beginning.
Phase 2
Wait for approval
Upon submission of registration details, users must await validation and approval from a ZealiD agent.
Review time
4 minutes.
Service Level Agreement (SLA) dictates a maximum processing time of 4 minutes during the service hours.
Phase 3
Sign a user agreement
Once the registration is approved, users receive a request to sign user terms and agreements. Upon signing, a unique user certificate is generated, granting the user the right to sign qualified e-signatures (QES).
Session time limit
7 days.
Users have 7 days to sign the user agreement, if failed the process will restart the registration from the beginning.
Tips
Register in one go
We advise completing the registration session in a single attempt. Ensure you have your ID nearby and are in a private, secure environment before starting. Preparation beforehand can streamline the process.
Enable app notifications
To stay updated on your registration progress without constantly checking the app, consider turning on the notifications. This ensures you are promptly notified when your case is processed and a user agreement is ready to be signed.
Ensure stable internet connectivity
During the first phase of registration, it's critical to have a stable internet connectivity as your data is transferred to our servers. This ensures a smooth and uninterrupted registration process.
Need more help?
If you require further assistance, we're here to support you every step of the way. Feel free to explore our comprehensive knowledge base, where you'll find a wealth of help articles covering various topics.
Our help desk is filled with resources designed to address common queries and provide detailed guidance on using our services effectively.